Ivy says:
You must congratulate us, this is our thousandth post here on Home Ec 101! So, y’all will get something special, a fab tutorial! Sorry it’s late, I was showing my mom how to “delete all” on my camera (she and I both have the same model) and I deleted everything instead of cancelling the delete. Whoops. Well, these pictures are better than the first ones I did anyway.
So, anyone that has ever bought a Knifty Knitter long loom set knows the instructions appear to have been written by a drunk sock monkey. They just don’t make that much sense. When I went online looking for help with it, I found one tutorial and a few youtube videos, but I had to go looking for all I needed. I figured I’d do a tutorial here so both starting and casting off can be found all in one place.
To see the full tutorial, just click the jump.
The long looms can actually handle everything a circular loom can, but what makes the long looms different is the fact that you can make a flat, double knitted panel. This is what this tutorial shows- the flat, double knit method. You’ll want to either use a really chunky yarn, or if you want to use a worsted weight, use 2 strands of yarn. I used the chunky yarn, so if you go the double strand method, keep in mind you’ll be doing everything with 2 strands of yarn at once.
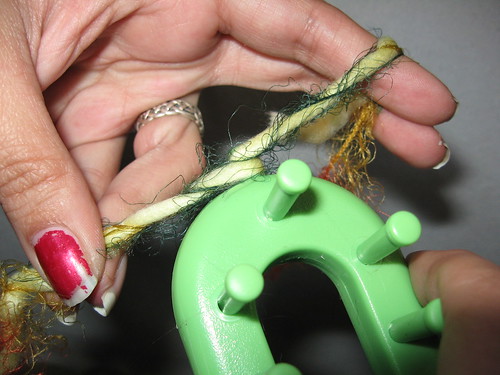
First, wrap the yarn around the end peg like this:
Please forgive my one painted nail, I was trying my daughter’s nail polish pen out, and decided I hated it. I’ve also run out of nail polish remover, so I have one funky nail right now.
Now, you can use a slipknot to hold the yarn onto the end peg, but if you do, you’ll have to remember to remove it as your knitting gets longer. I prefer just to wrap it around and hold it while I do the first few stitches. Bring the yarn around and put it between the first and second pegs on the top row. Then wrap it around the first peg on the top row and put it between the first and second pegs on the bottom row, like this:
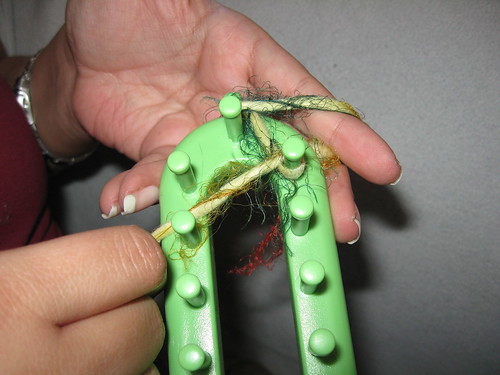
Then wrap it around the first peg on the bottom row and bring it between the second and third pegs on the top row, like this:
Then wrap all the remaining pegs in the same manner. Here’s a little video:
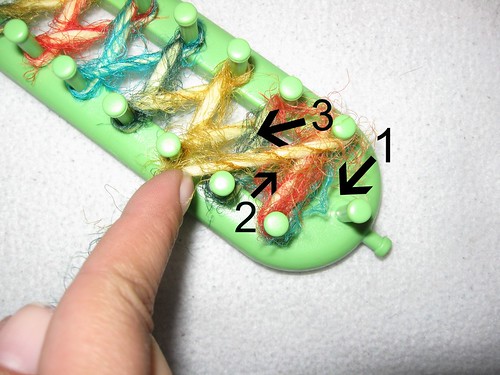
Hopefully that’s clear enough. I also did the end peg- when you get to the end, just wrap it around making a “u” shape. Here’s a picture with some nifty arrows showing you the right direction:

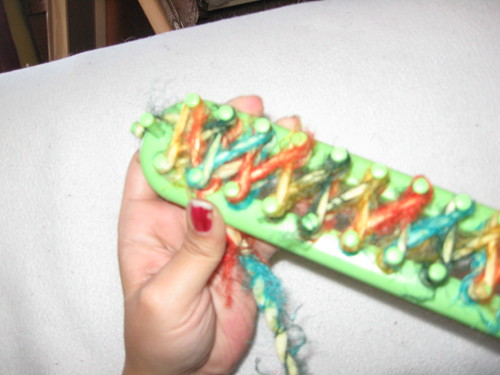
Then, push all the loops to the bottom and then just go back the same way you came. I’ve marked this photo to make it clearer:
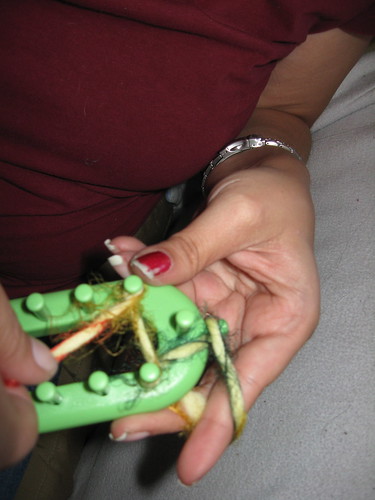
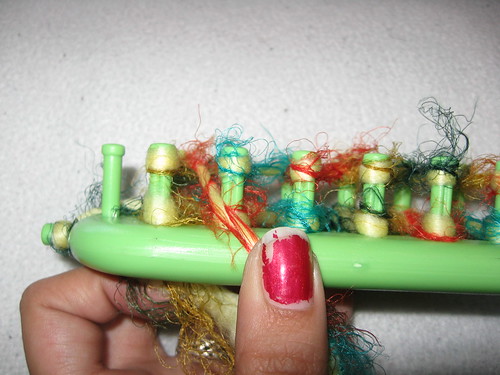
Then once you have it all double wrapped, do the same thing you did with the end peg on this end. All pegs should be double wrapped except for the very last peg on the opposite side of where you started. Here’s what it’ll look like when you have it all double wrapped, from the top view:
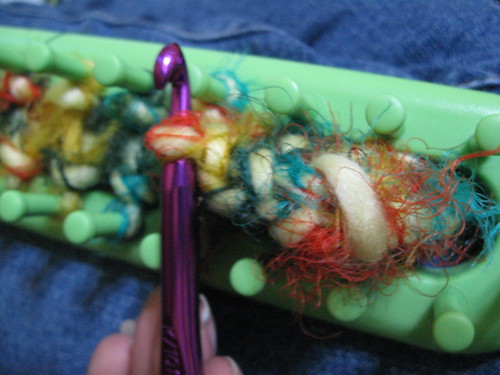
Then, you’ll take your hook that came with your looms and, starting with the “u” shaped loop you wrapped last, pull the bottom loop over the top loop, and push it off into the middle of the loom. Like so:
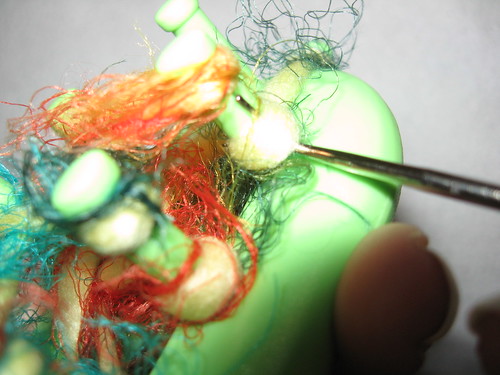
Hook the bottom loop,

Pull it over the top.
It’ll be loose, don’t worry. This is what it’ll look like when you have the first two loops pulled over.
In case that wasn’t clear enough, here’s a little video:
So, just do that, following the way the yarn goes, all the way to the end, then wrap again. Then do the loops again. Etc, etc, until you have the knitting the length you want. Then, it’s time to bind off. This time, I did a video first, because it’s really much easier to just watch how it’s done.
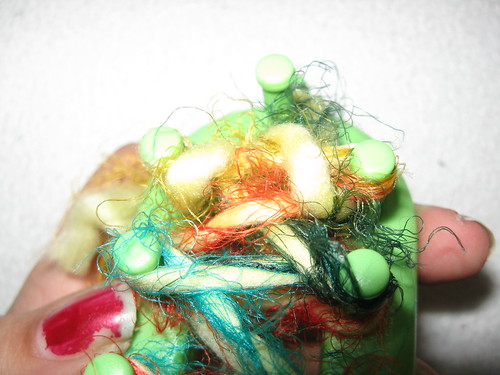
See what I did there? Hook the first loop, then grab the second loop, and put the first over the second. go all the way down in the same order your yarn goes in, pulling the old over the new. This is easiest with a crochet hook, although you could use the hook that came with your loom. If you start pulling off loops on the opposite end of where your yarn is at, then just stop and pull the end of your yarn through the loop, tighten and weave your ends in. (Which, I don’t have a picture of, since this was all just an example. I’m making a skinny scarf with that yarn, actually.) But here’s the top view of what your binding off should look like in-progress:
And it’s just that easy. I normally despise knitting. it seems to go so slowly and it’s boring. With the loom, I think it goes a whole lot faster and you can do it while watching television, since no counting is required. Finally, a way for me to knit things without ending up in the nuthouse!
Enjoy your knitting, Home Eccers!